Python SDK
Prerequisite: Sign up for an EthVigil developer account
To use the EthVigil Python SDK, you need to be signed up for a beta developer account on https://beta.ethvigil.com
You can choose any of the following approaches.
Sign up via the CLI tool ev-cli (Recommended )
Follow the instructions sequentially from these steps detailed in the links below.
Install the CLI tool
Generate a new EthVigil invite code and complete signup on CLI
This approach allows you to have control on your EthVigil developer account from your command line itself without having to switch to the Web UI.
Once you have completed this section, head to Quickstart.
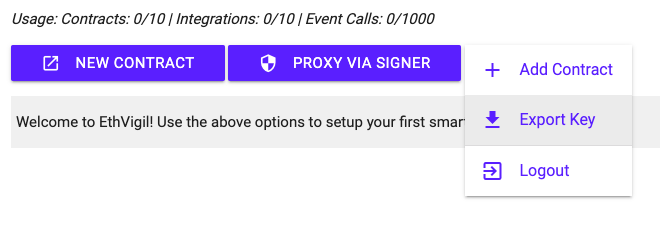
Sign up on the web UI
Once you have signed up on the web UI
- you have to manually export your settings from the dashboard
- To copy the downloaded file into
~/.ethvigil/settings.jsonrun the following commands in your terminal
Note: The
~in the above file path denotes your home directory on Linux/MacOS
Quickstart
Install EthVigil Python SDK
Choose any of the following approaches.
Either of them should install a python module ethvigil
pip installfrom Github repo
pip install git+https://github.com/blockvigil/ethvigil-python-sdk.git
Do a local
pip installaftergit clone
Test import
Launch python in interactive mode and test if you can import the module. if you do not see any ImportError or other exceptions, you would want to move on to exploring the SDK further.
Initialize EthVigil API instance
You can find the following usage examples in the examples/ directory as well.
EVCore
If you configure the logging module appropriately, passing verbose=True to the above initialization will begin printing debug information on to the console.
Here is an example:
Deploy a contract
Find the microblog.sol Solidity smart contract in the examples directory of the SDK github repo.
The contract will be deployed at the address displayed above.
Accessing previously deployed contracts
You can access operations on a contract previously deployed through EthVigil by calling the generate_contract_sdk() function on the EVCore instance.
All the functions defined in the Solidity smart contract can be accessed by the same names against this contract instance. Read on to find out how.
Reading from a contract
We will be using the contract instance from the above example.
Example source code: examples/contract_read.py
Writing to a contract
Changing the microblog title
Example source code: examples/contract_write_changeBlogTitle.py
Adding a new post
Example source code: examples/contract_write_addPost.py
Transactions that change the state of a smart contract take anywhere between 5-15 seconds to get confirmed on the blockchain.
This makes it necessary to build an asynchronous pattern for your blockchain applications. Let us take a look at it in the next section.
Webhook integrations: Receive JSON payloads from events and other contract activity
EthVigil does the hard work of monitoring your contracts, transactions on them and events that may be emitted by transactions triggering certain logic.
You can use these updates to enhance your blockchain applications and execute further logic "off-chain". Connect to multiple services like recording a new entry on Airtable, create a new Google Doc, executing IFTTT recipes; the possibilities are literally endless.
Step 1: Set up a publicly available URL to which EthVigil can push these updates.
For this example, we shall use ngrok to setup a publicly available URL in the format https://<randomstring>.ngrok.com . The tool receives HTTP payloads on this public URL and forwards them to a local HTTP server (running on your computer).
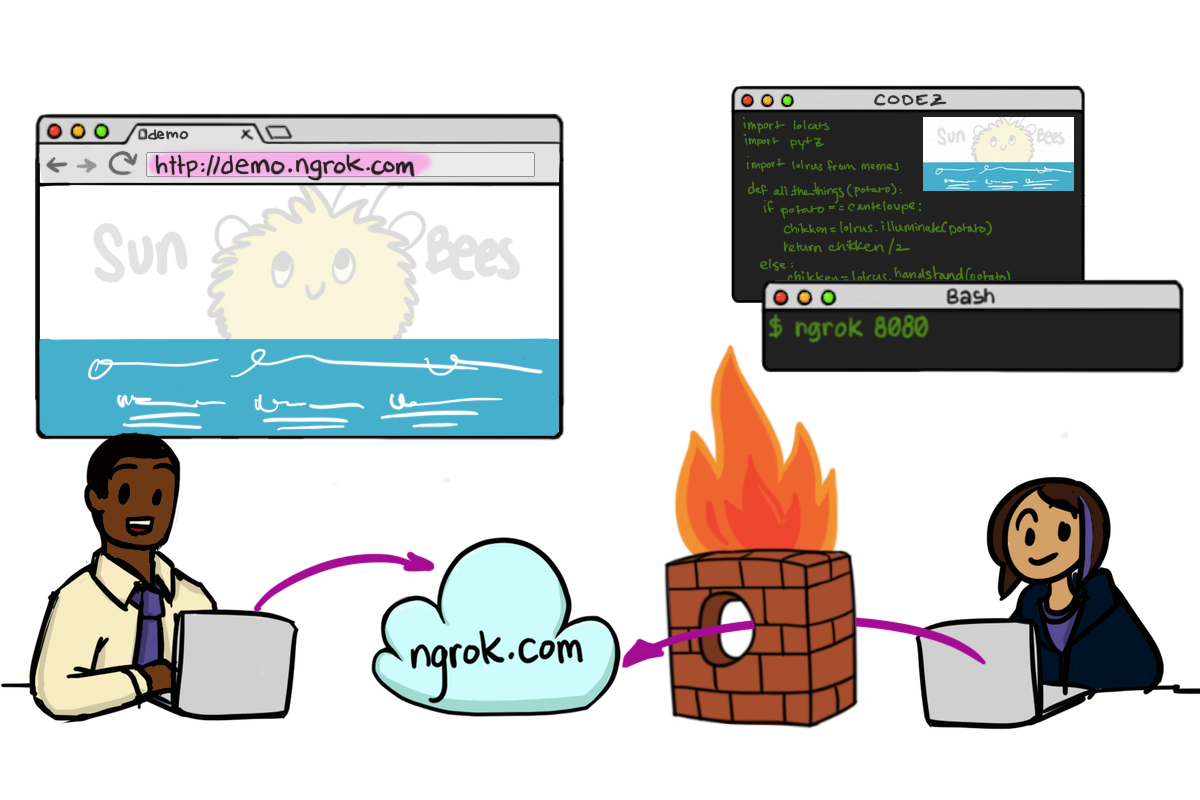 Image Credit: Ngrok.com
Technically this is known as HTTP tunnelling but let's not worry about semantics right now.
Follow the instructions on ngrok.com to install and setup the tool.
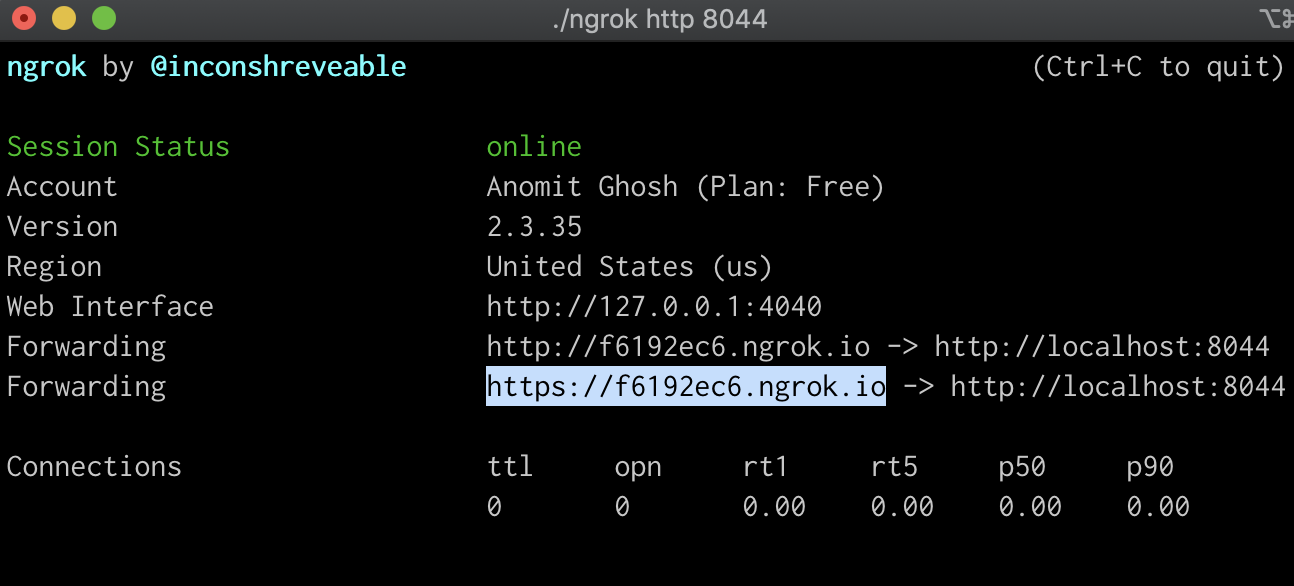
Then run it on the terminal with the following command.
./ngrok http 8044
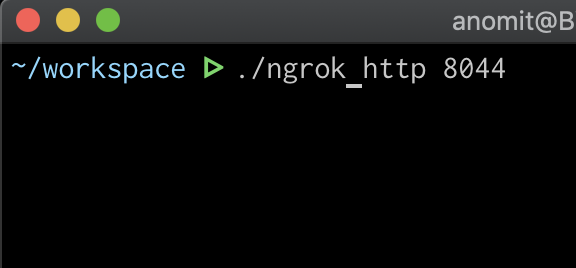
This will forward HTTP requests to a local server running on port 8044. In the next step, we fire up this local server.
Step 2: Run the local HTTP server
We have included the code for this in examples/sample_webhook_listener.py. Open a new tab/window in your terminal and run it
python sample_webhook_listener.py
This starts a tornado server running on port 8044. The example code logs every received payload on the terminal.
Step 3: Register the public ngrok URL with EthVigil to receive updates
Example code: examples/webhook_integrations.py
Copy the https URL against the Forwarding information from the running ngrok console. It will look something like this:
Continuing from the microblog.sol example, let us attempt to receive an update the NewPost event that is emitted when you call addPost() on the contract instance.
Step 4: Call addPost() and observe the local HTTP server
Apart from the terminal where ngrok is running, open up two more new terminal tabs or windows.
- Run the
examples/sample_webhook_listener.pyfile - In another one, run the following code snippet as demonstrated in the section Writing to a contract
This should generate a transaction to the contract. Shift to the terminal where sample_webhook_listener.py is running.
You should see the NewPost event being delivered to the script.
GIF demonstrating the process of adding webhook integration